
10 Tips for Better Smartphone Event Photos
Want to take better event photos with your smartphone? Start by mastering your phone's camera settings, understanding lighting, and framing your shots creatively. Whether it's a wedding, birthday, or corporate gathering, these 10 tips will help you capture sharp, well-lit, and memorable photos:
- Know Your Phone Camera Settings: Use features like Night Mode, HDR, and Burst Mode for different scenarios.
- Get the Light Right: Position yourself for natural light or use tools like ring lights and Night Mode indoors.
- Frame Your Photos Well: Apply the rule of thirds, use natural frames, and avoid cluttered backgrounds.
- Take Natural, Unposed Photos: Capture candid moments without interrupting the scene.
- Try Different Camera Positions: Experiment with high, low, and ground-level angles for unique perspectives.
- Keep Your Phone Still: Use both hands, a tripod, or image stabilization to avoid blurry photos.
- Get Close to Small Details: Highlight decorations, accessories, or textures with Macro or Portrait modes.
- Make Basic Photo Edits: Adjust exposure, contrast, and colors using apps like Lightroom or Snapseed.
- Use HDR When Needed: Balance bright and dark areas for tricky lighting conditions.
- Share Photos with Event Apps: Use apps like Hitched for secure, real-time photo sharing.
These quick tips will help you take stunning event photos that truly reflect the atmosphere and emotions of the moment.
1. Know Your Phone Camera Settings
Today's smartphones come equipped with advanced cameras that can deliver impressive event photos - if you know how to use them. Familiarizing yourself with basic camera controls can make all the difference in capturing moments with clarity and impact.
Start by setting your camera to its highest resolution. This ensures you get the most detail, whether you're editing or printing the photos later. For sharper images, especially in group shots or challenging lighting, tap to focus on your subject. These simple steps help maintain photo quality, whether you're sharing them on platforms like Hitched or creating physical keepsakes.
Here are some key settings to optimize for different situations:
- Indoor Events: Use Night Mode or increase ISO to brighten dim spaces.
- Outdoor Events: Turn on HDR to balance harsh sunlight and shadows.
- Action Shots: Switch to Burst Mode to capture movement without blur.
- Group Photos: Use the wide-angle lens to fit everyone into the frame.
Exposure control is another important tool. Tap and hold to lock the exposure, then adjust the brightness by sliding your finger up or down. This is especially useful when shooting people against bright backgrounds, like windows or sunsets.
White balance is equally important for natural-looking colors. Adjust it manually under artificial or mixed lighting to ensure accurate skin tones and true-to-life hues for outfits or decorations. Pair this with ISO adjustments - use lower ISO in bright settings and higher ISO in low light - to balance light sensitivity and image quality.
"The ISO setting controls the camera's sensitivity to light. Lower ISO settings are best for bright conditions, while higher ISO settings are better for low-light conditions. However, high ISO settings can introduce noise, so it's essential to balance the ISO with the exposure and other settings." [1]
Once you've mastered these settings, you're ready to focus on lighting, which plays a huge role in taking your event photos to the next level.
2. Get the Light Right
Lighting plays a major role in event photography. It not only boosts the quality of your photos but also captures the mood and emotions of the moment. Whenever possible, rely on natural light by positioning yourself with the light source behind or beside you. For outdoor events, aim to shoot during the golden hour - right before sunset - for soft, warm lighting. Indoors, place your subjects near windows or well-lit areas to make the most of available light.
If natural light isn’t enough, modern smartphones offer handy tools to improve your shots:
- Use Night Mode or HDR in low-light conditions to balance exposure and keep details sharp.
- Adjust the exposure manually by tapping and sliding on your screen.
- Opt for portable ring lights instead of your phone’s flash to create softer, more flattering lighting.
For scenes with high contrast - like a mix of bright and dark areas - HDR can help bring out details in both. Different events call for different lighting techniques, so be ready to reposition yourself to highlight your subjects in the best way possible. For group shots, aim for even, consistent lighting, while dramatic lighting can add energy and intensity to action-packed moments.
Once you've nailed the lighting, it's time to focus on framing your shots to make them stand out.
3. Frame Your Photos Well
A well-thought-out composition can transform a simple photo into a captivating story. Start with the rule of thirds: activate your phone's 3x3 grid and place important elements along the lines or where they intersect. For group photos, arrange people by height - placing taller individuals at the edges and shorter ones in the center creates a balanced look.
Use natural frames like doorways, windows, or tree branches to add depth and context to your shots. Pay attention to the background - watch out for distractions like exit signs or stray objects that can clutter the image. Incorporating negative space can make your subject stand out and give your photo a clean, striking feel. In more formal settings, use symmetry to your advantage, especially in spaces with eye-catching architecture or decor.
Framing is as much about what you leave out as it is about what you include. Adjust your position to find the best angle and composition. Once you’ve nailed framing, you can shift your focus to capturing those genuine, unposed moments that bring photos to life.
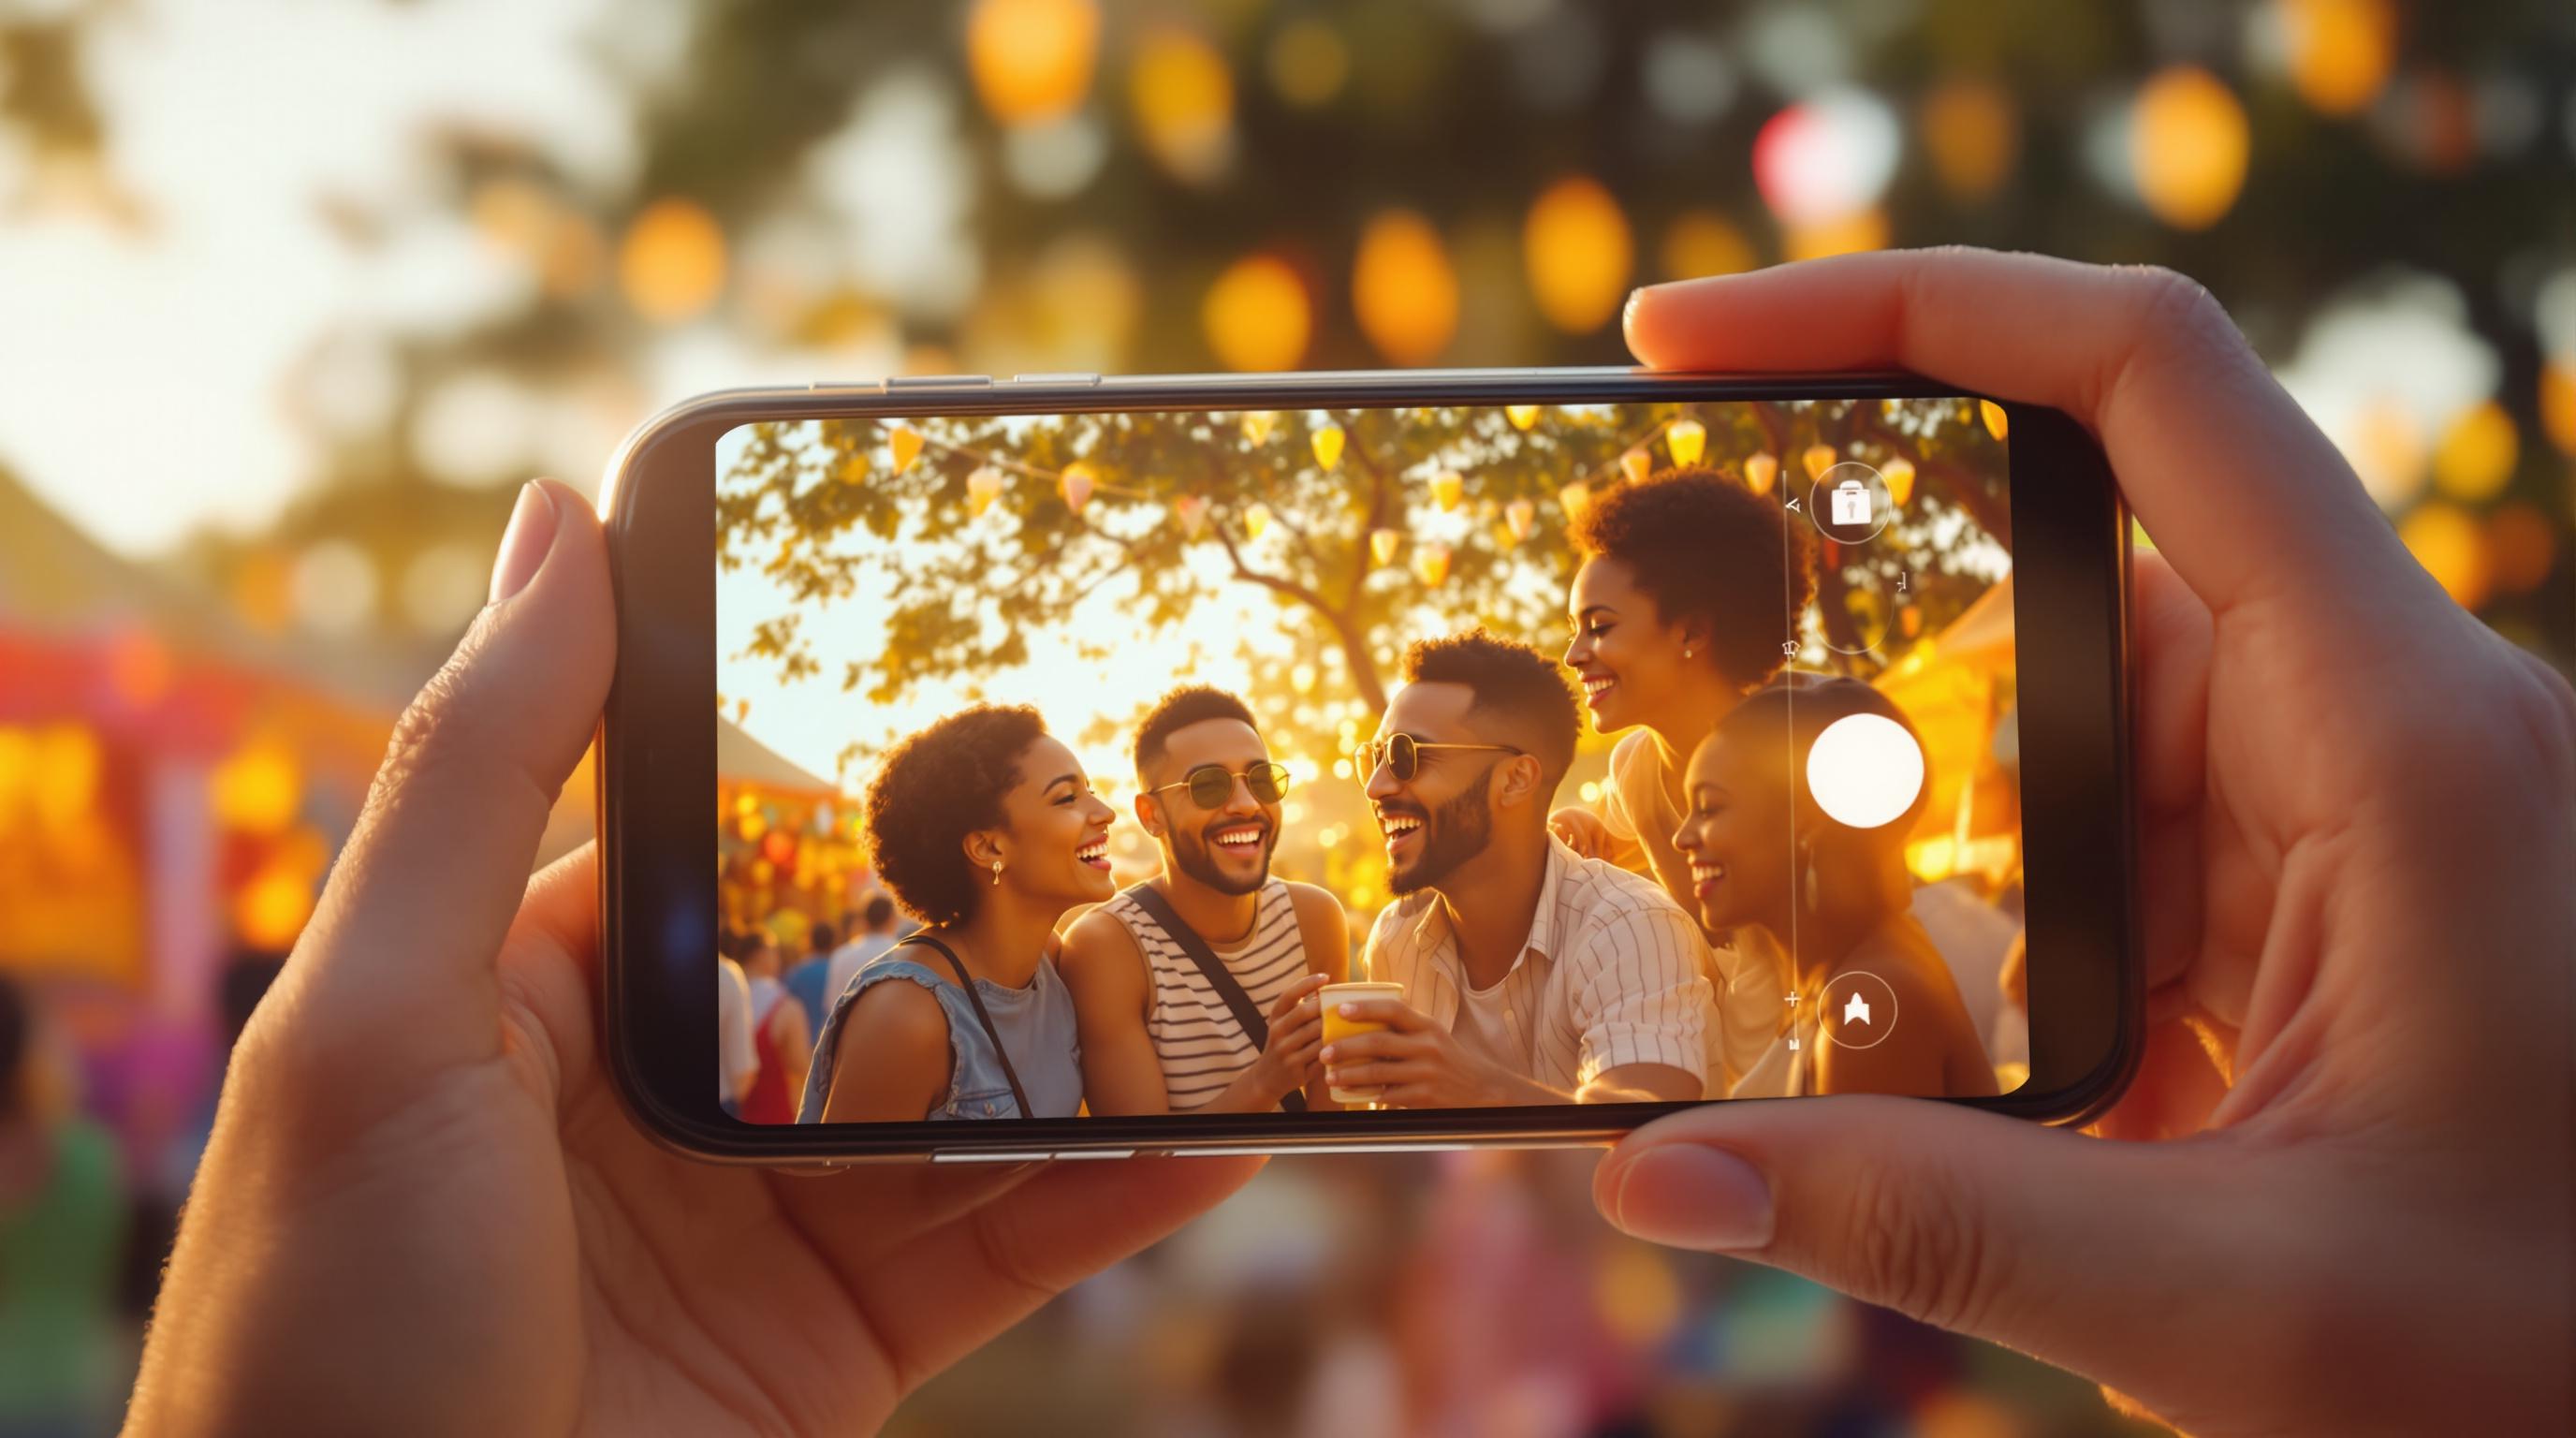
4. Take Natural, Unposed Photos
Some of the best event photos come from capturing real, unscripted moments rather than staged poses. To do this, you’ll need to be an attentive photographer who can spot and document genuine interactions without interrupting them.
Position yourself discreetly and keep an eye out for meaningful moments - like bursts of laughter, animated discussions, or heartfelt reactions. When photographing speakers or performers, timing is everything. Instead of snapping them mid-speech, look for those fleeting moments of connection: a thoughtful pause, an expressive gesture, or an interaction with the audience.
Leverage tools like burst mode, faster shutter speeds, and natural lighting to capture these candid shots without disturbing the scene. In group settings, avoid asking people to pose. Instead, photograph them as they naturally engage with each other. These types of photos often highlight real personalities and relationships.
For private events, such as weddings, apps like Hitched let guests share candid moments securely, creating a shared collection of memories.
Capturing natural photos takes patience and practice. You might miss some moments, but the effort is worth it when you get those truly authentic shots. Once you're comfortable with this approach, try experimenting with different angles to bring even more creativity to your work.
5. Try Different Camera Positions
Switching up your camera positions can add fresh perspectives and bring out the energy of an event. Moving beyond standard eye-level shots can make your photos stand out.
Here are some ideas to try: use low angles for dramatic shots, high angles for group photos or venue overviews, and ground-level positions for capturing action. Check out the table below for more details:
| Camera Position | Best For | Things to Keep in Mind |
|---|---|---|
| Eye Level | Casual portraits, direct engagement | Feels natural and connects emotionally |
| Low Angle | Speakers, performances, architecture | Adds drama and a sense of power |
| High Angle | Group shots, venue overviews, table settings | Shows context and avoids unflattering angles |
| Ground Level | Dance floors, action shots | Brings a dynamic, dramatic touch |
To experiment, try lowering your phone to waist level or below for low angles. For high angles, use stairs, balconies, or simply hold your phone overhead. Just make sure to keep your phone stable - grip it firmly or use a small tripod if needed.
Lighting and steadiness are key when playing with these angles. A shaky or poorly lit shot can ruin the effect, so focus on keeping your camera steady and well-lit to make every detail pop.
6. Keep Your Phone Still
Blurry photos can ruin great moments, but keeping your phone steady doesn't have to be hard. Use a firm two-handed grip and keep your elbows close to your body for better control. If possible, brace your elbows against a stable surface like a table or wall for even more stability.
Here’s how to stay steady in different situations:
| Situation | Technique to Use |
|---|---|
| Crowded Areas | Hold with both hands, elbows braced to body |
| Low-Light Conditions | Use a mini tripod or portable gimbal |
| Action Shots | Try burst mode with a solid stance |
| Group Photos | Rest phone on a surface or use the timer |
Your phone’s built-in features can help too. Turn on optical or electronic image stabilization (OIS/EIS) if your device supports it. In low light, skip the flash and switch to night mode for better results [3].
For dynamic settings like dance floors or outdoor celebrations:
- Plan your stance ahead of time for key moments.
- Use faster shutter speeds to capture movement clearly.
- Bring a portable gimbal for those important shots.
Once your phone is steady, you’ll be ready to capture the details that make each photo stand out.
sbb-itb-49fad82
7. Get Close to Small Details
Focusing on small details can turn event photos from ordinary snapshots into rich visual stories. These close-ups add emotional layers and bring out the unique elements that make each event special.
Your smartphone camera has several modes that can help you highlight these fine details:
| Detail Type | What to Capture | Best Camera Mode |
|---|---|---|
| Decorative Elements | Centerpieces, place cards, table settings | Macro or Portrait |
| Personal Items | Jewelry, accessories, awards | HDR or Macro |
| Food & Drinks | Plating details, garnishes, custom drinks | Portrait or Standard |
| Textural Details | Fabric patterns, floral arrangements, signage | Macro or HDR |
For crisp, detailed shots, stay about 6-8 inches from your subject. If your phone has optical zoom, use it instead of physically moving closer to avoid blurring or losing focus. Make sure the lighting is even - natural light near windows or well-lit spaces works best for indoor shots.
"Capturing small details like personal items, awards, or specific decorations can add emotional depth to event photos. For example, photographing a bride's jewelry or a winner's trophy can tell a more personal story about the event."
If you're working in low-light conditions, a small LED light can help highlight the details without creating harsh shadows. To soften the light, bounce it off a white surface or diffuse it with tissue paper. Skip the flash - it can wash out delicate details and create unwanted shadows.
For private events, apps like Hitched let guests share detail shots quickly and securely, ensuring every little moment is captured. Once you've taken these close-ups, you can enhance them with basic edits to make the details pop.
8. Make Basic Photo Edits
Small edits can make a big difference in your event photos while keeping them looking natural. Simple tweaks can emphasize the emotions and details that make each moment stand out. Start with the basics - adjust exposure and contrast - before diving into more creative touches.
Apps like Adobe Lightroom and Snapseed are excellent tools for editing event photos. They include features tailored for group shots and low-light settings. For example, some apps even let you merge group photos to ensure everyone looks their best in a single image [1].
Focus on small adjustments to improve exposure, contrast, cropping, and color balance. These tweaks can brighten shadows, add depth, reduce distractions, and fix lighting issues. If you're editing for specific platforms - like social media, prints, or event-sharing apps - keep the final destination in mind. For private events, apps such as Hitched allow easy sharing while preserving the original photo quality [2].
Steer clear of over-sharpening, heavy saturation, or excessive cropping. Overdoing filters can also take away from the natural feel of your images. The goal is to enhance the photo without altering its essence, preserving the genuine atmosphere of the event.
Once your photos are polished and ready, think about the best ways to share them with your audience.
9. Use HDR When Needed
HDR (High Dynamic Range) mode can help you handle tricky lighting situations during events. By blending multiple exposures, it balances bright and dark areas in a single photo, making it a great tool for complex lighting setups.
This mode works well for shots like guests standing against bright sunsets or large windows, where it balances facial details with the background. When paired with good framing and lighting, HDR can make your event photos look polished and professional.
Here’s a quick guide on when to use HDR during events:
| Scenario | HDR Usage |
|---|---|
| Backlit subjects | Highly useful - keeps both faces and backgrounds clear |
| Indoor venues with bright windows | Recommended - evens out indoor and outdoor lighting |
| Outdoor daytime events | Sometimes helpful - softens harsh shadows in direct sunlight |
| Fast-moving subjects | Avoid - can result in blur or ghosting (blurry outlines caused by motion) |
Skip HDR in low-light conditions or when photographing moving subjects, as it can lead to blurry results. For best outcomes, keep your phone steady while using HDR. It’s most effective for still subjects, and a stable grip will go a long way. Many modern smartphones include an auto-HDR feature that activates as needed, saving you the trouble of deciding when to use it.
Once you’ve snapped well-balanced photos with HDR, you’ll be ready to share them with ease.
10. Share Photos with Event Apps
Once you've taken amazing photos at your event, sharing them through dedicated apps makes it easy for everyone to enjoy and revisit those memories. These apps offer features like real-time uploads, private access, high-resolution downloads, and centralized storage to keep everything organized.
For example, Hitched lets guests securely upload and view event photos as they happen, ensuring every angle is covered. To make it work smoothly, set up the app ahead of time, share QR codes or short links for access, and encourage guests to upload their photos during and after the event.
When choosing a photo-sharing app, look for these features:
- Simple access for guests without complicated sign-up processes
- Privacy settings to keep your photos secure
- An easy-to-use interface for quick uploads
- The ability to download high-quality versions later
Conclusion
Taking amazing smartphone photos at events involves a mix of technical know-how and creative instincts. Understanding your phone's camera settings and managing exposure allows you to capture the event's atmosphere in a way that feels true to the moment [3].
Composition and stability are just as important. A steady hand and experimenting with angles can result in sharp, well-framed images that tell a story [1][3].
Don't overlook editing and sharing. Small tweaks can transform a decent photo into a standout one. Platforms designed for event photo-sharing make it easy to save and share memories with others who were there.
Improvement comes with practice. The more you experiment, the better you'll get at capturing those fleeting, meaningful moments that define an event [1][3].
The most memorable photos often mix the planned highlights with the unexpected, candid moments. Sharing these through dedicated apps ensures everyone can relive the experience. With these skills, you'll be ready to document your next event with photos that truly stand out.
FAQs
Here are answers to some common questions about taking great event photos with your smartphone:
How can I take better event photos with my phone?
Getting great event photos starts with good lighting and positioning. Try to keep the light source behind or beside you for the best results [3]. At indoor events, look for naturally bright spots, like areas near windows. To avoid motion blur, use a tripod or steady surface [3]. For group shots, arrange people by height to create a balanced composition [1].
What are some tips for improving mobile photography?
Improving your mobile photography skills takes practice and a few simple techniques. Move closer to your subject, experiment with different angles, and take multiple shots to find the best one [3]. Use soft, natural light whenever possible for better results.
Here are a few extra tips for sharper, more polished photos:
- Use HDR mode when appropriate to enhance details.
- Make light edits to improve your photos without overdoing it.
- Try a small LED light for portraits or food shots [3].
For easy and secure photo sharing at private events, apps like Hitched can be a great option [2][4]. With these tips, you'll be ready to capture and share stunning event photos.